Creating a Rent Manager integration
Last updated: September 21, 2026
This guide walks you through creating a Rent Manager integration in Propexo, including generating your Rent Manager partner credentials and whitelisting Propexo’s IP address(es) with Rent Manager.
Generating your Rent Manager credentials
Log into Rent Manager Partner Web Access.
Head to the API Test Client tab and generate your partner token.
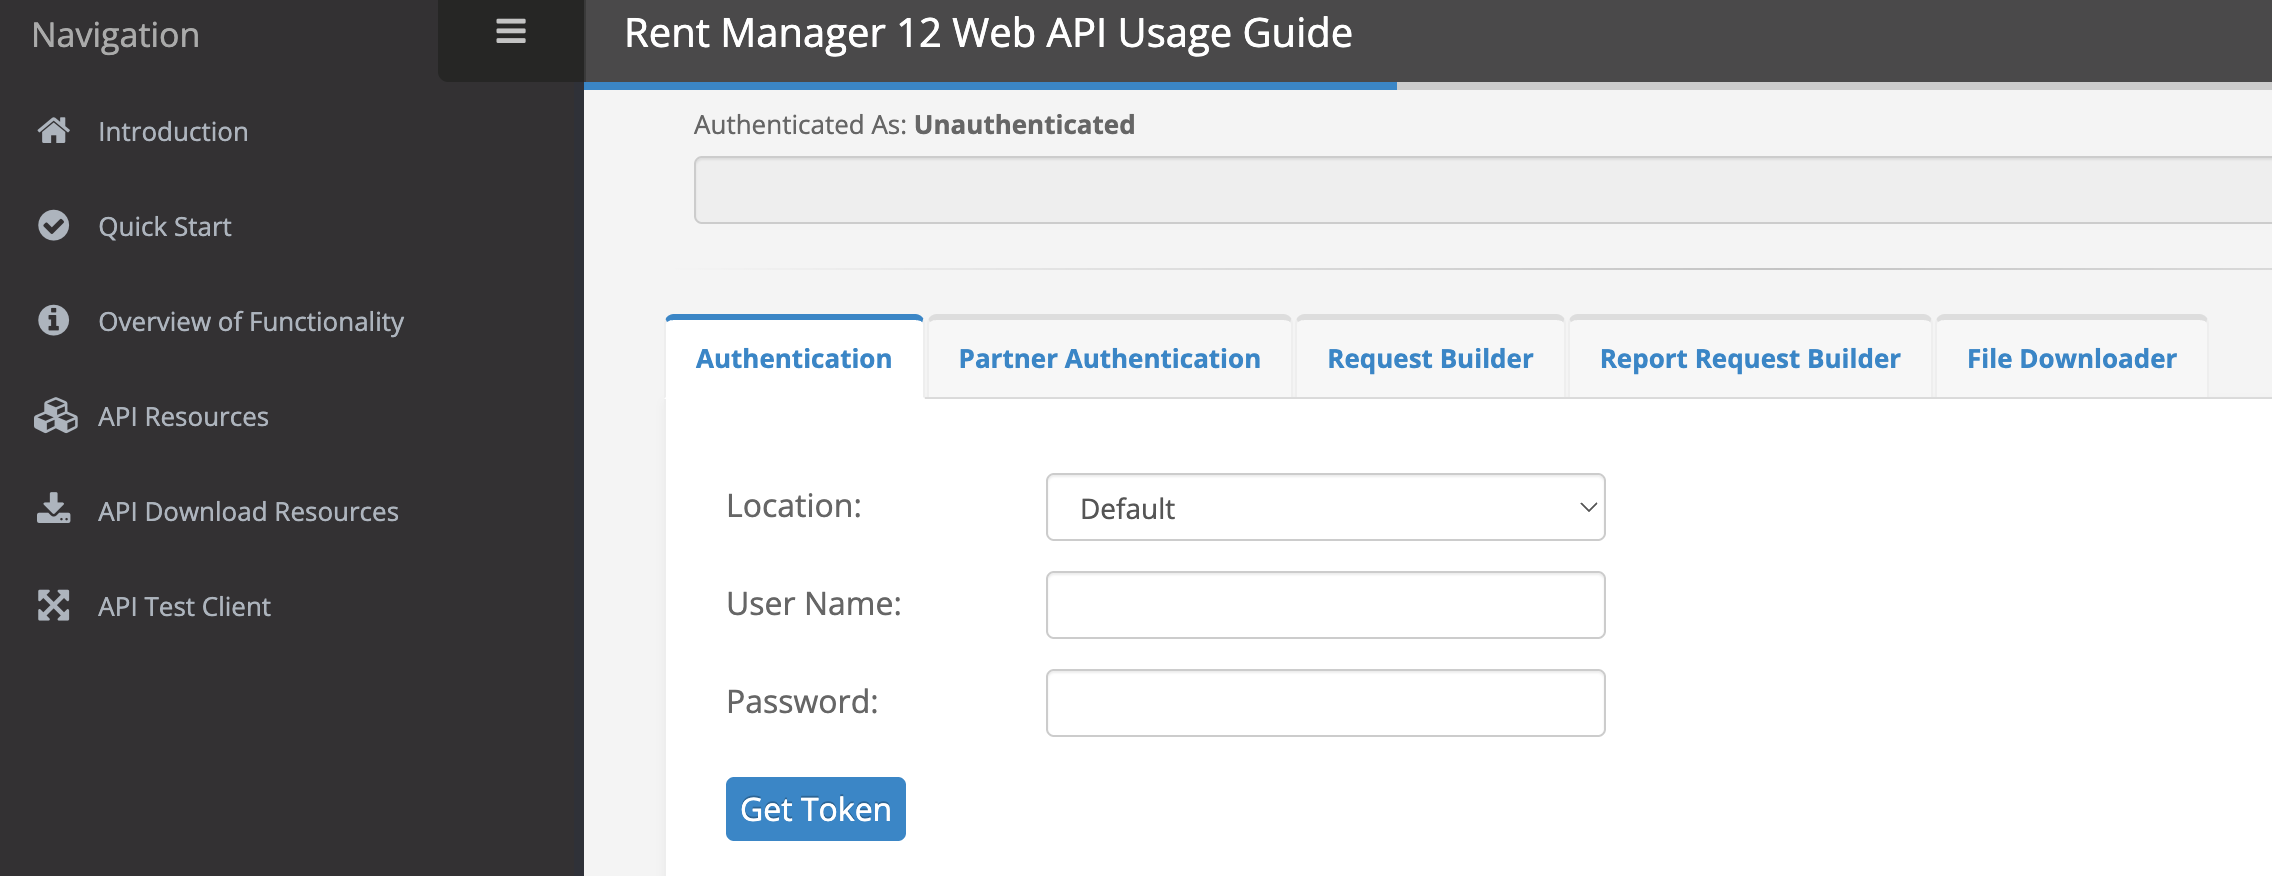
Find your entity name (company code) in the URL of your Rent Manager instance. For example, if your URL is https://propexo.rmx.rentmanager.com/, your entity name is ‘propexo’.
⚠ For all production integrations, you’re required to provide a partner token — username/password authentication is not supported in production.
Getting your PMC client to activate the integration
Before you can pull data, your client (the PMC) needs to activate the integration on their end in Rent Manager. Share this article with them: PMC Setup: Requesting a Rent Manager Integration.
Once they submit the request, whoever manages Rent Manager Partner Web Access on your team will receive an email - see Approving a Rent Manager Integration Request for how to approve it.
Creating the integration in Propexo
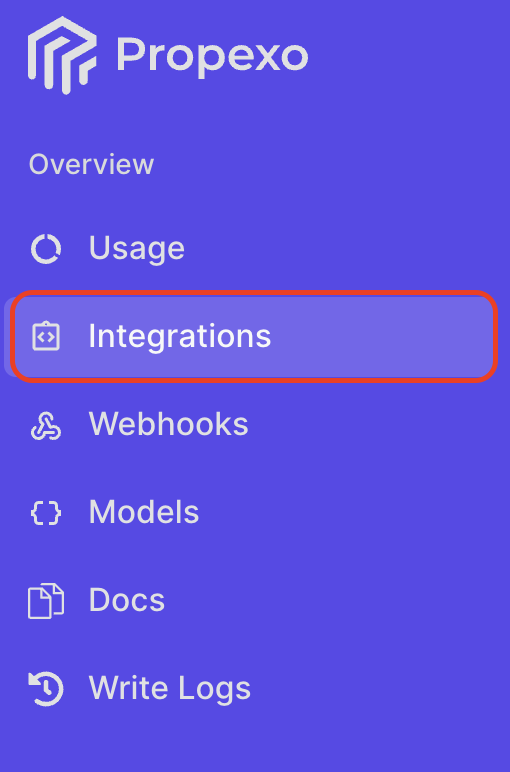
In Propexo, navigate to the integrations tab.
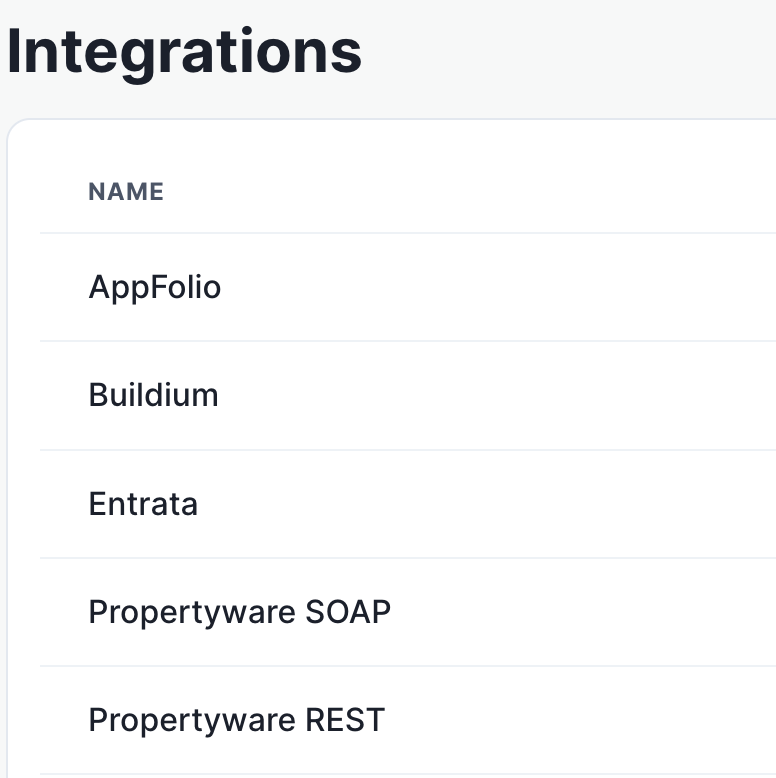
Then, select your relevant PMS from the list (Rent Manager in this instance).
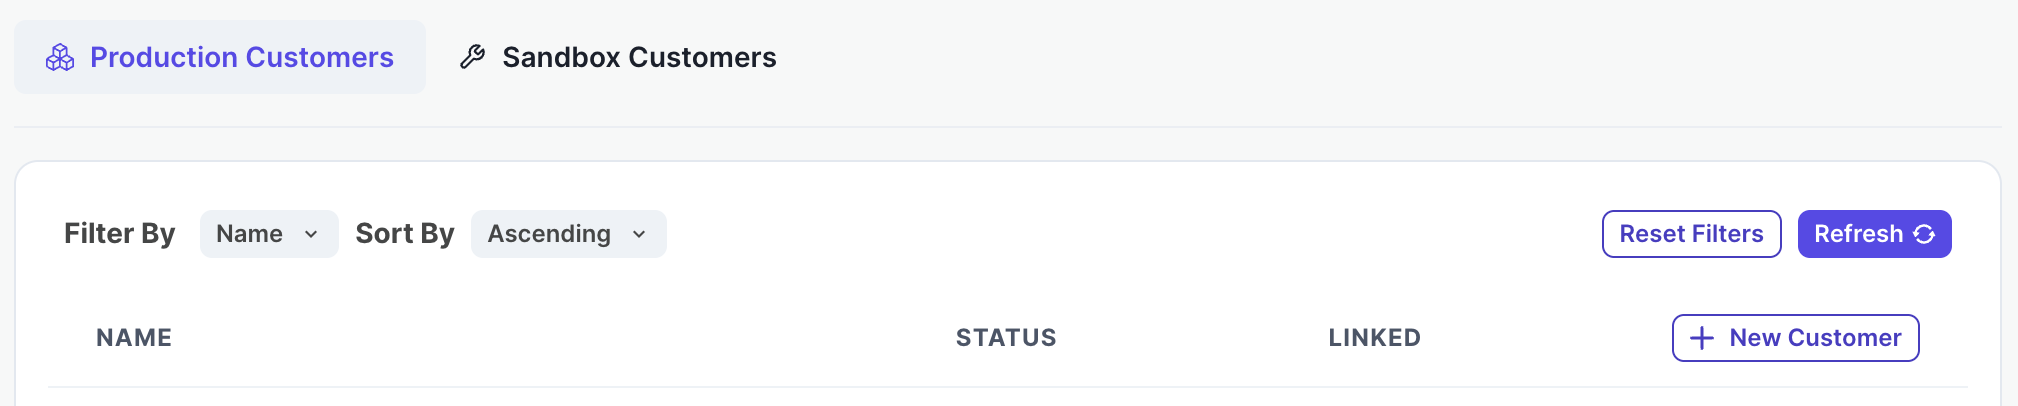
On the PMS page, select Production or Sandbox as necessary, then click New Customer.
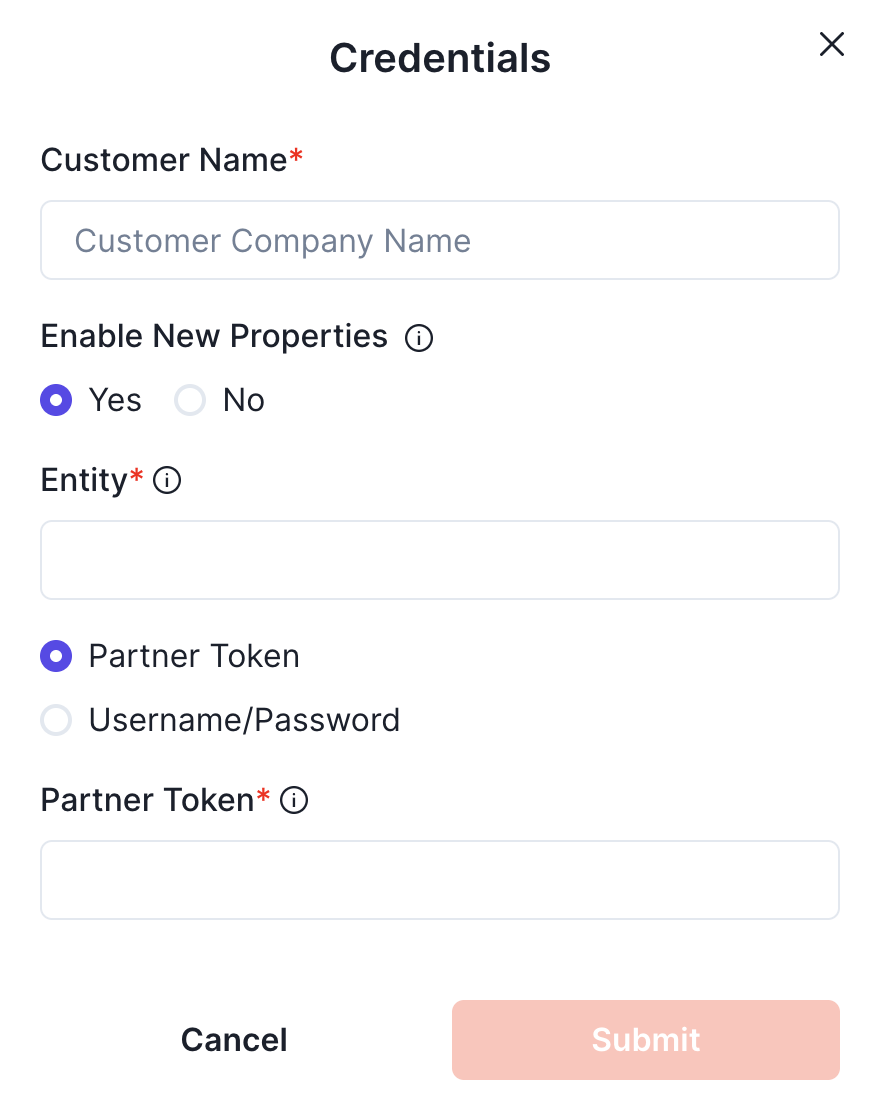
Enter a customer name to identify this account, your entity, and either the partner token or username and password combination you generated above.
Whitelisting Propexo’s IP address(es) in Rent Manager
Rent Manager also requires your Propexo IP address(es) to be whitelisted before API requests will succeed. See Whitelisting Propexo’s IP address(es) in Rent Manager for instructions.