Creating an Entrata integration
Last updated: September 21, 2026
This guide outlines how to create an integration with Entrata’s API. To proceed, you’ll need the following:
The company ID (sometimes called the client ID)
The customer name
The Entrata Vendor API key
Importantly, the property management company (PMC) must enable API access for your vendor account. Without this step, the integration will not function.
Note: the Property Management company will need to have added an API user for your company in order to set up the integration. Here's how they can do so:
Step 1: Have the PMC Enable API Access
Before any integration can occur, the PMC must enable an API user for your vendor account in Entrata. This is a task for your PMC contact to complete on their end — you can share this article with them directly: PMC Setup: Enabling API Access in Entrata.
Once they’ve completed it, they should let you know so you can proceed to Step 2 below.
Step 2: Locate Your Entrata API Key
Vendors can find their API key by logging into their developer portal.
Click Applications in the top-right, and select your application from the list.

Under your application, click the Subscriptions sub-tab.

Click on your Entrata API, and the API key will be visible on the right-hand side.

Integrating with Propexo
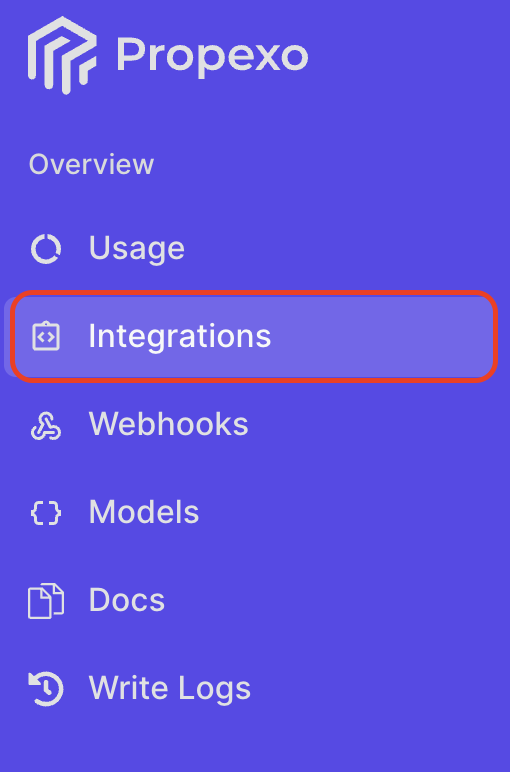
In Propexo, navigate to the integrations tab.
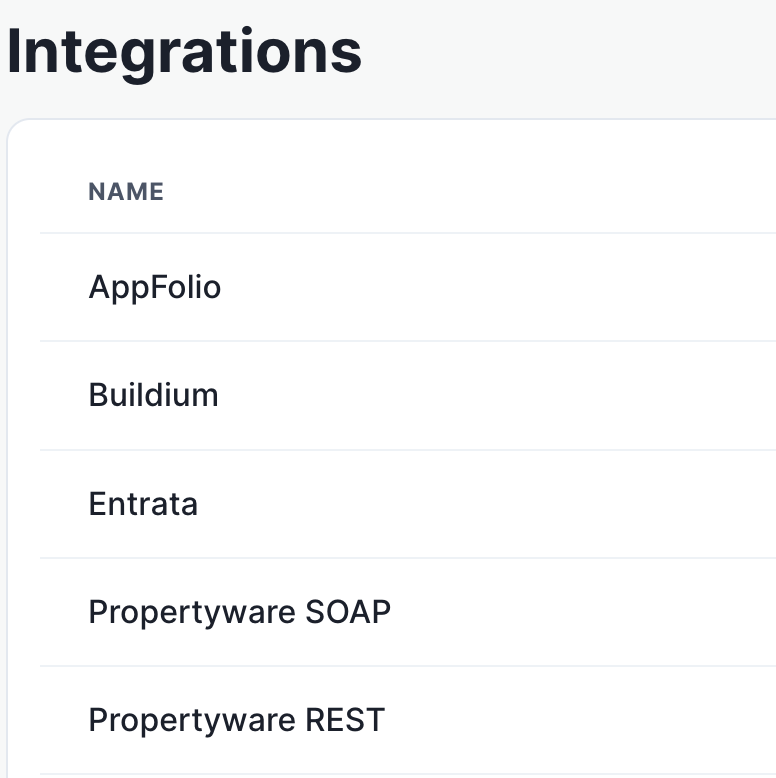
Then, select your relevant PMS from the list (Entrata in this instance).
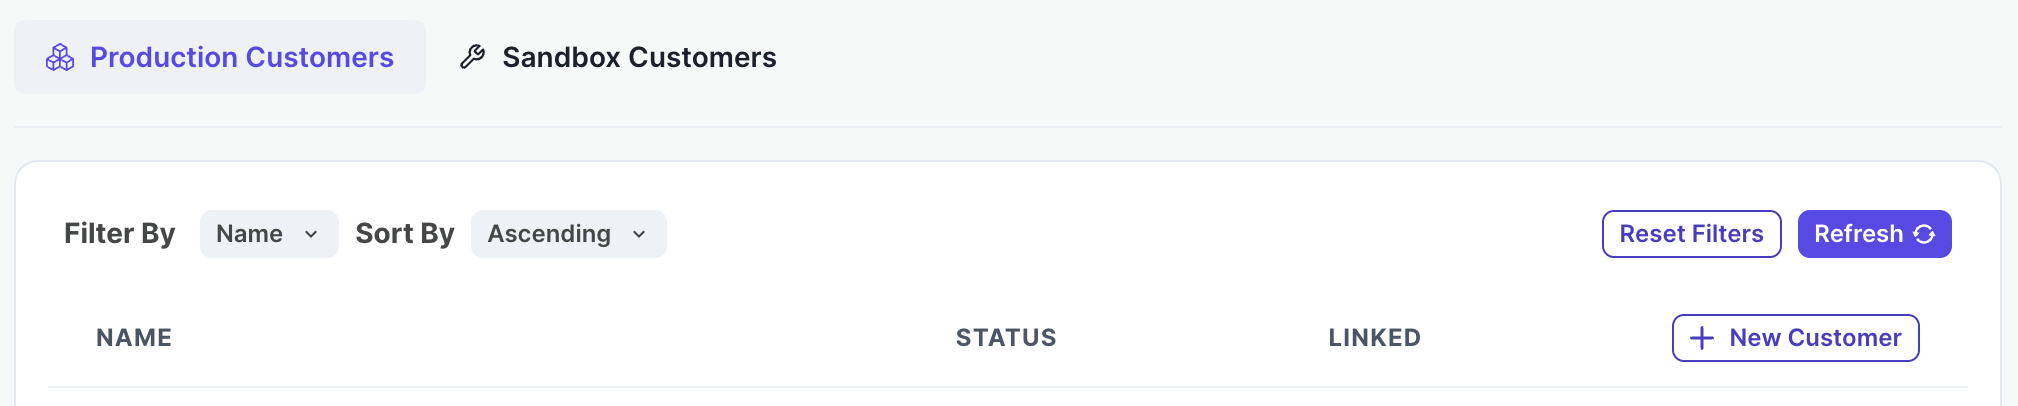
On the PMS page, select Production or Sandbox as necessary, then click New Customer.
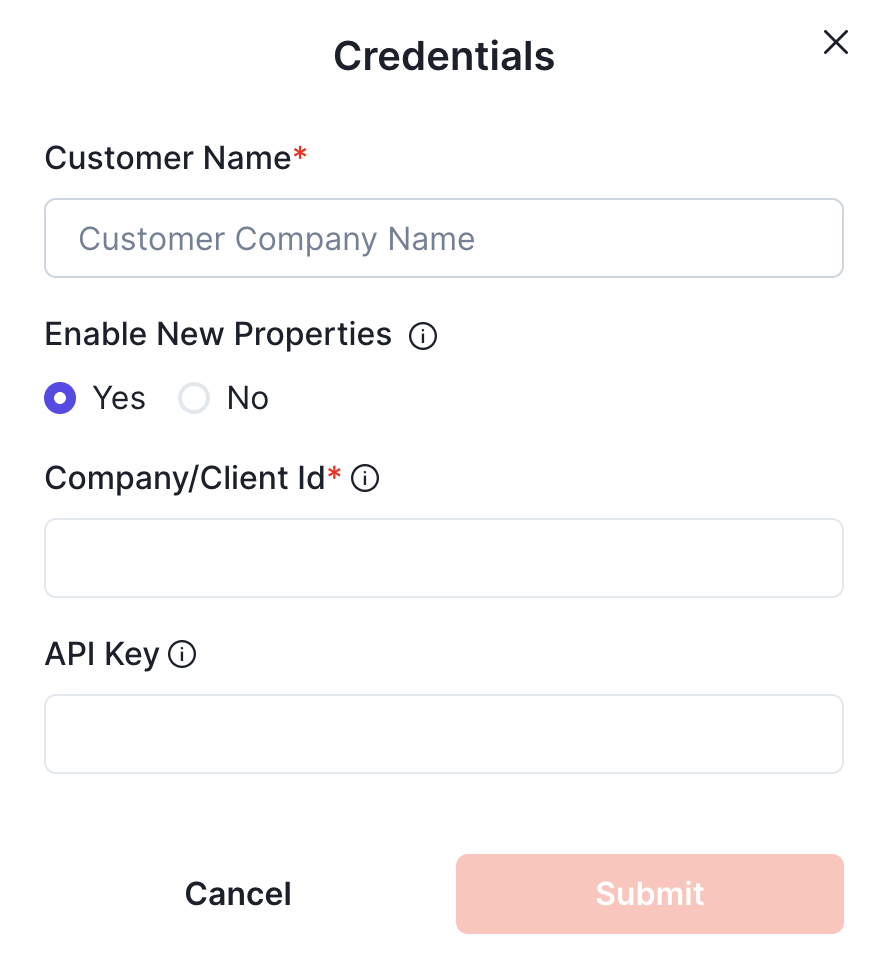
Enter your customer name, client ID, and API key, and submit.
⚠ If you have not had your integration approved by informing the Propexo team, the integration will not work.
Your integration should now be correctly set up. You can verify your connection by using the data access panel.